
19 Lighting Techniques That Will Make Your Home Decor Photography Shine!
Capturing the beauty of your home decor requires more than just the right angle; it needs the perfect lighting.
Whether you’re a seasoned photographer or a beginner, understanding how to use light to enhance your space can transform ordinary shots into stunning visuals.
From the golden glow of natural light to the moody ambiance of artificial sources, this guide will take you through 19 lighting techniques that will elevate your decor photography.
Get ready to brighten your creativity and let your home shine!
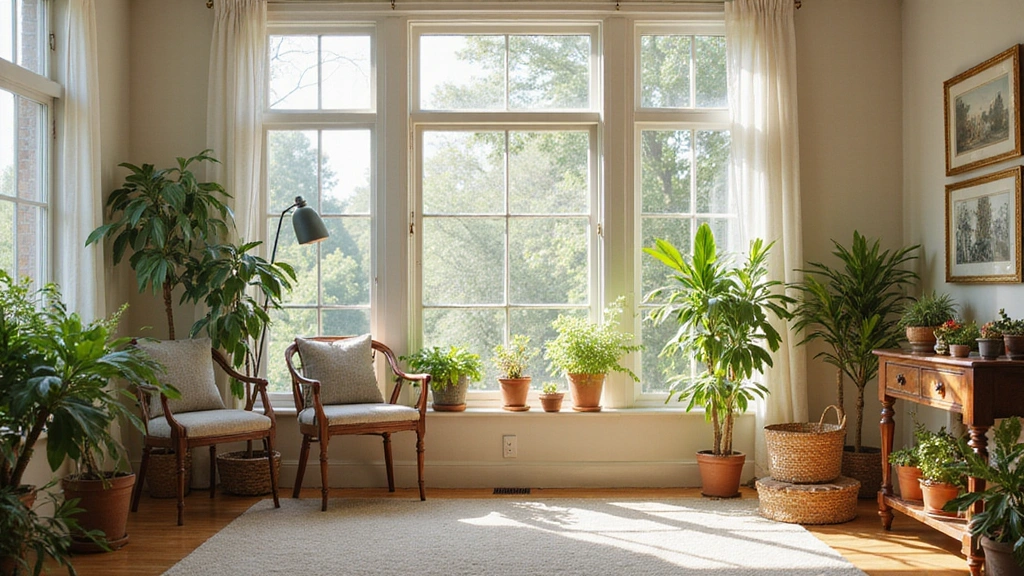
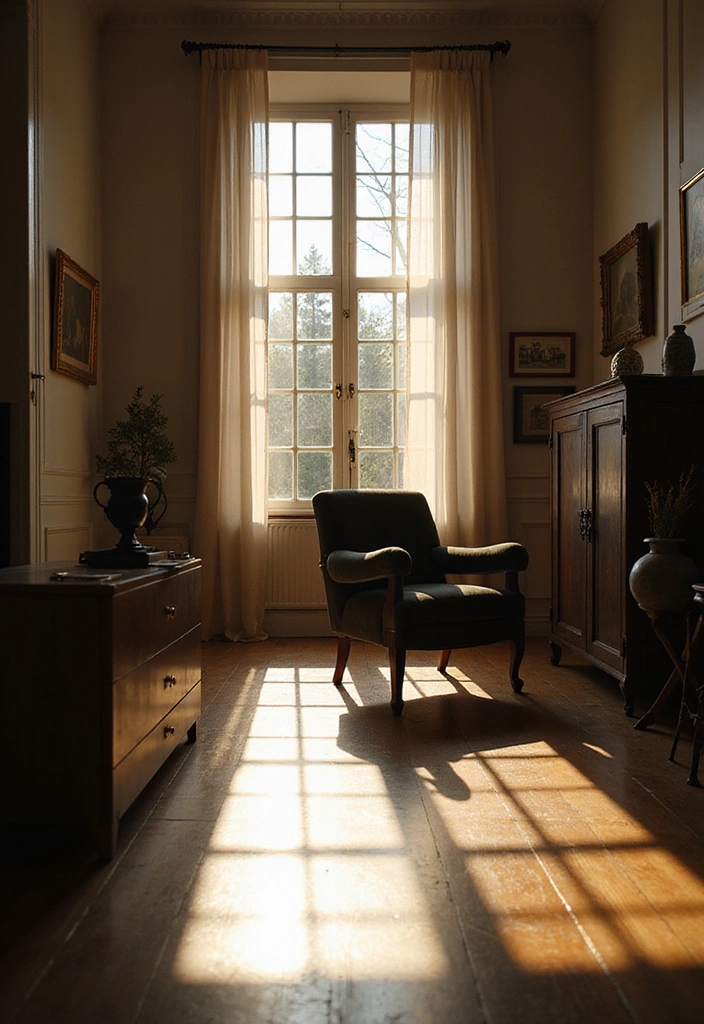
1. Embrace Natural Light
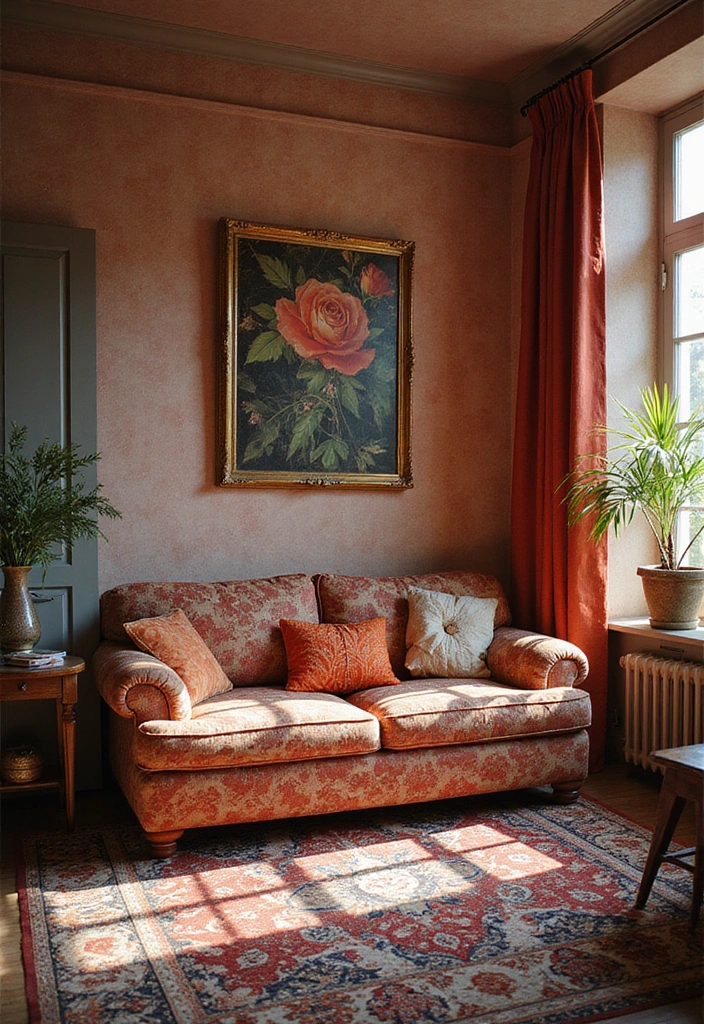
Natural light serves as a photographer’s most valuable ally, particularly for capturing the beauty of home decor. To take full advantage of this resource, position your camera near windows during the golden hour—shortly after sunrise or just before sunset. This timing allows you to harness that exquisite, soft, diffused light that enhances colors and brings textures to life.
Incorporate light-diffusing curtains to soften harsh sunlight, creating a gentle glow that lends an ethereal quality to your images.
To make the most of natural light in your home decor photography, consider these tips:
– Opt for rooms with abundant windows to maximize light exposure.
– Experiment with different times of the day to capture a range of moods.
– Steer clear of direct sunlight to avoid harsh shadows and overexposed highlights.
– Utilize a reflector set to bounce light into shadowy areas, ensuring a more balanced and captivating look.
By embracing natural light and utilizing these tools, you’ll be well on your way to creating stunning images that authentically express the charm of your home. Don’t forget to use a tripod for stable shots, which can help you achieve that perfect composition with ease.
2. Use Golden Hour to Your Advantage
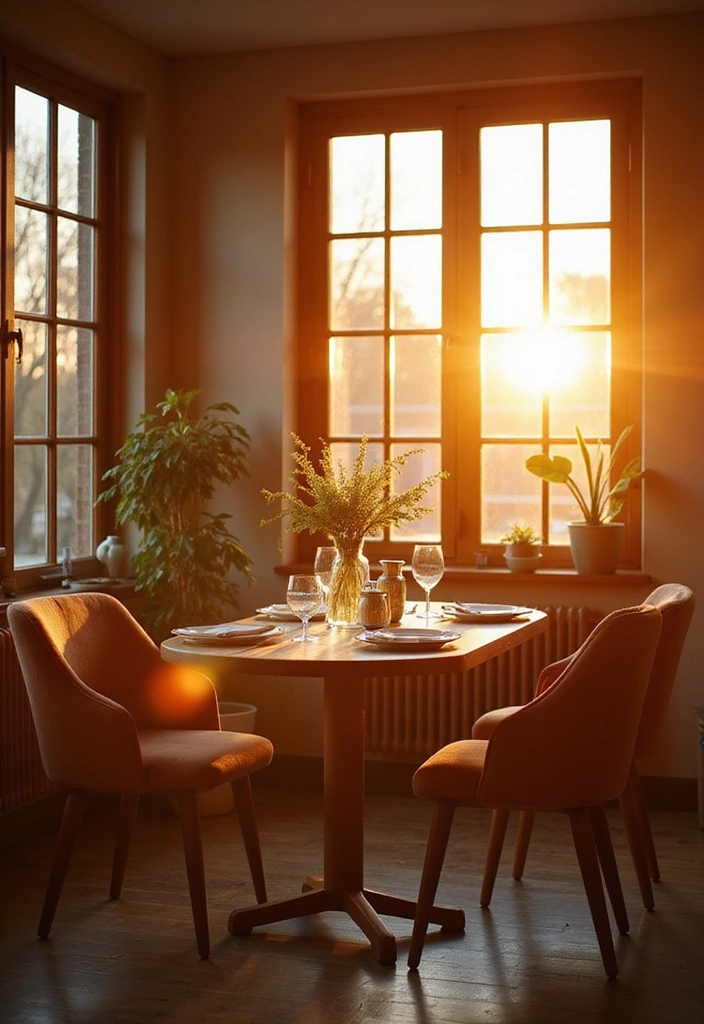
Golden hour is that enchanting period of the day when the sun bathes everything in a warm, golden glow. This magical lighting is ideal for home decor photography, imparting a dreamy quality that elevates the allure of your space.
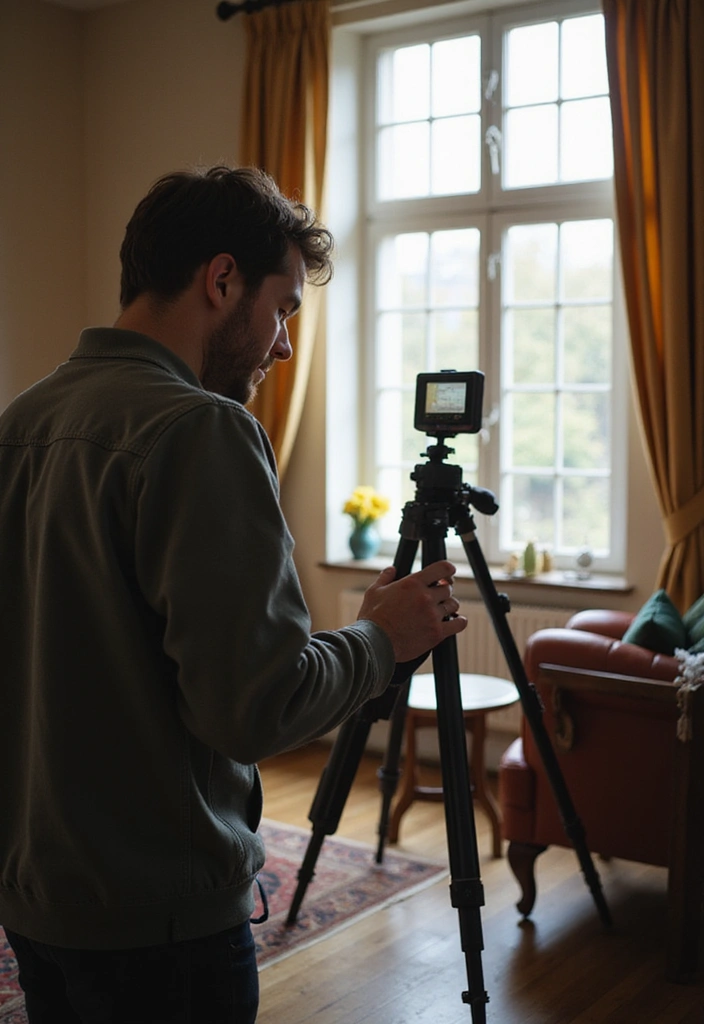
To take full advantage of this golden light, schedule your photo shoots around sunrise or sunset, and strategically position your decor elements to capture the light perfectly. Don’t forget to explore various angles to showcase the warmth and beauty effectively.
Here are a few tips to enhance your golden hour photography:
– First, check the weather; clear skies are perfect for ensuring those radiant golden rays shine through.
– Consider using a tripod with a timer to keep your camera steady and allow you to experiment with different compositions without any shakes.
– A lens hood for glare reduction can help minimize any unwanted reflections, ensuring that the golden light hits your decor just right.
– Finally, take your time and enjoy this beautiful moment; don’t rush through the process.
With the right lighting and equipment, even the simplest decor can transform into a stunning and inviting scene.
And for post-processing, consider investing in some quality photo editing software to enhance your images further, allowing you to bring out the best in your decor photography.
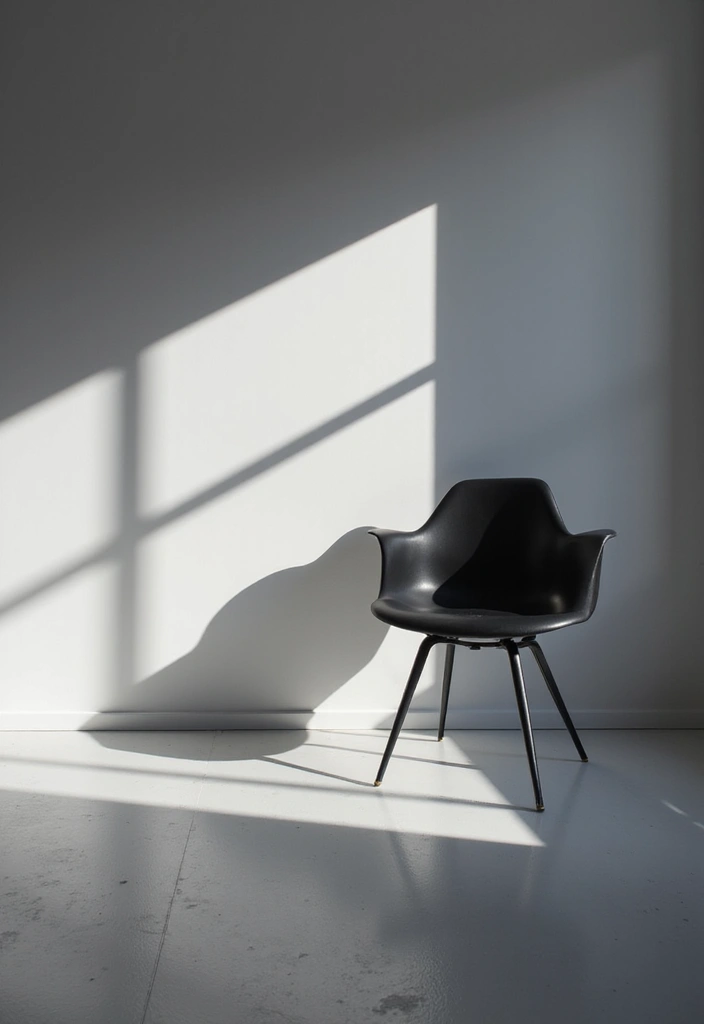
3. Experiment with Shadows
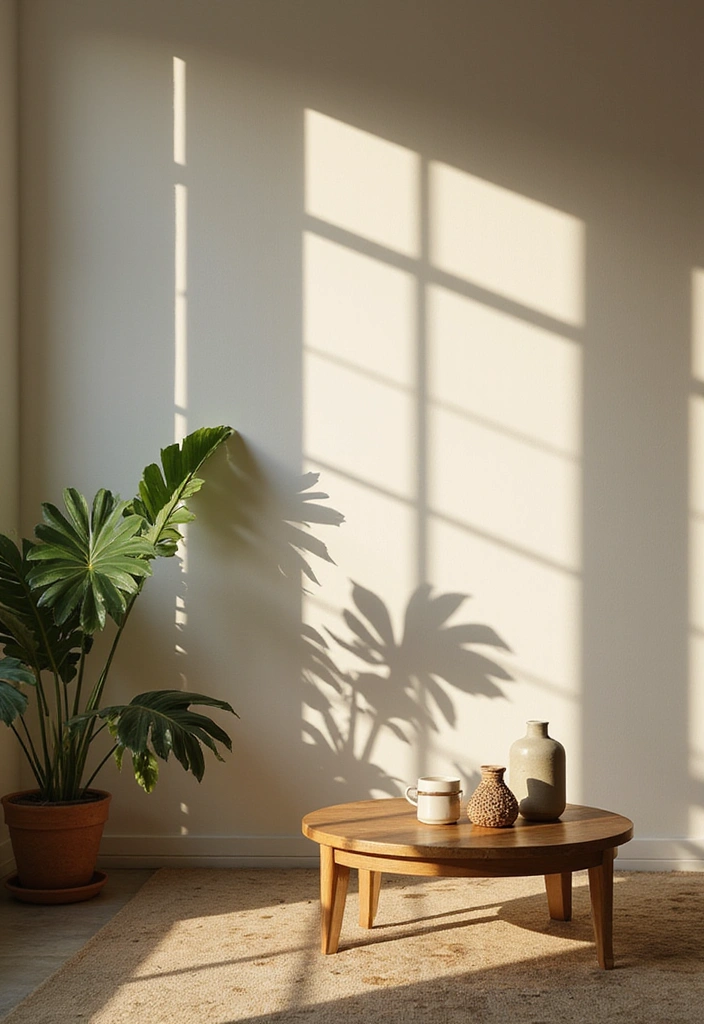
Shadows can significantly enhance the depth and intrigue of your decor photography. Rather than avoiding shadows, consider them as a vital design element that can elevate your shots. Harsh light sources can produce dramatic contrasts, while softer lights can create gentle shadows that highlight textures beautifully.
To effectively experiment with shadows in your home decor photos, try positioning your light source at an angle to cast interesting shadow patterns. Incorporating objects such as plants or furniture can help create layered shadows, adding complexity to your composition. Additionally, capturing shadows on textured surfaces can result in a more dynamic image. For those interested in mastering this technique, photography books on shadow techniques can provide valuable insights and inspiration—check out this photography book for expert advice.
Finally, experimenting with black and white photography can emphasize the interplay of light and shadow, allowing you to create striking visual narratives. Don’t forget to consider using textured backdrops to further enhance the overall aesthetic of your shots. By thoughtfully incorporating shadows into your photography, you can develop a more compelling and engaging story in your decor imagery.
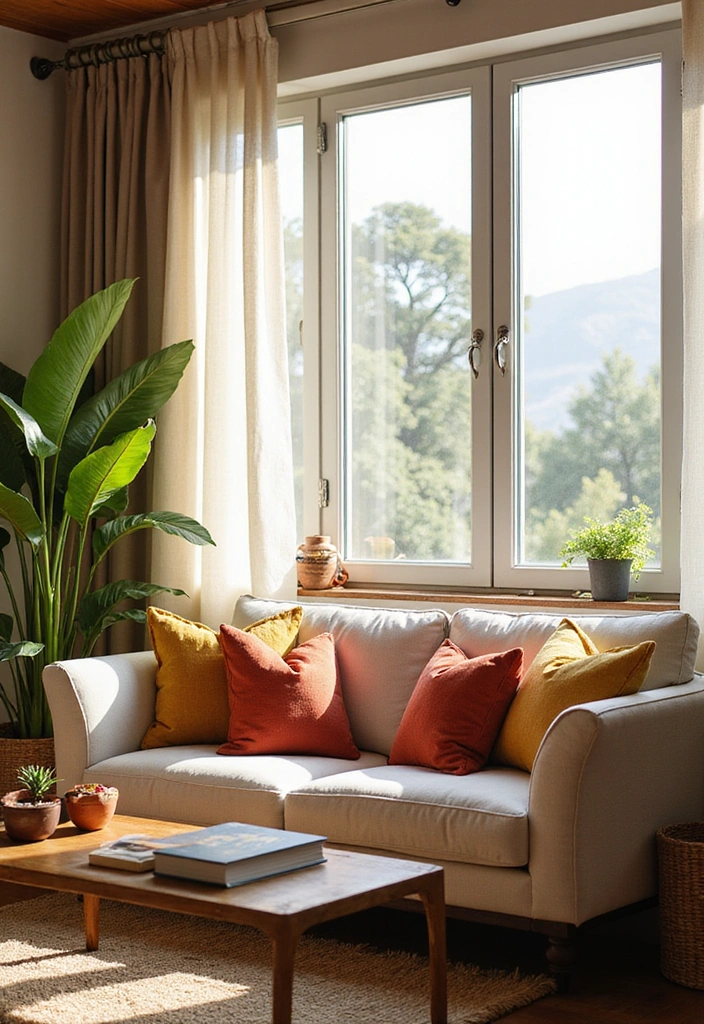
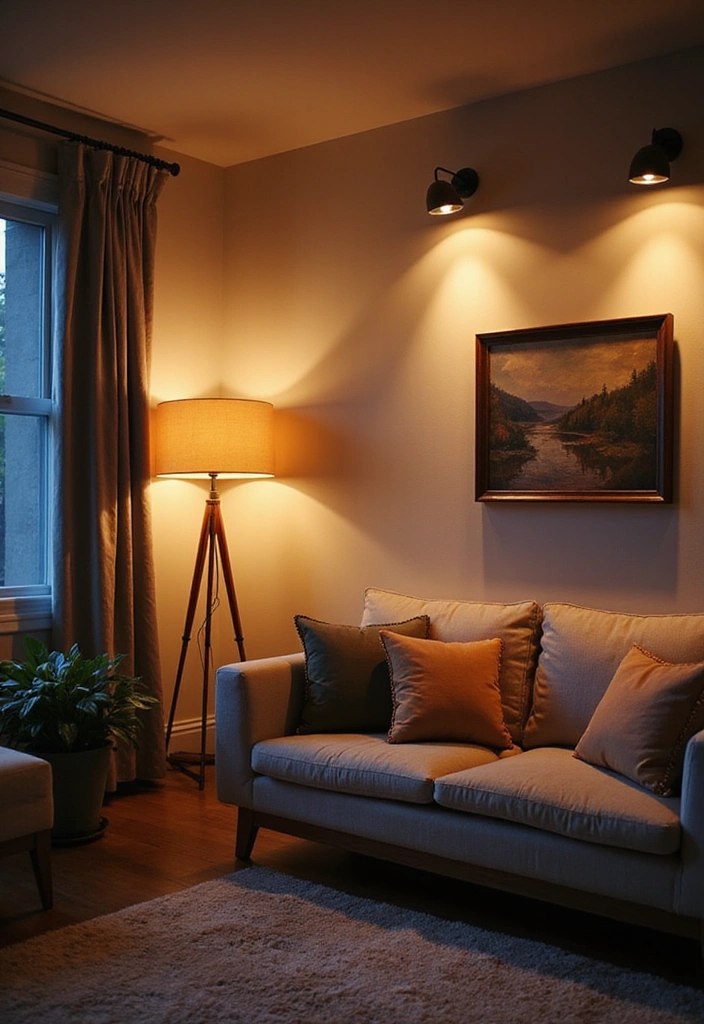
4. Soft Light for Cozy Vibes
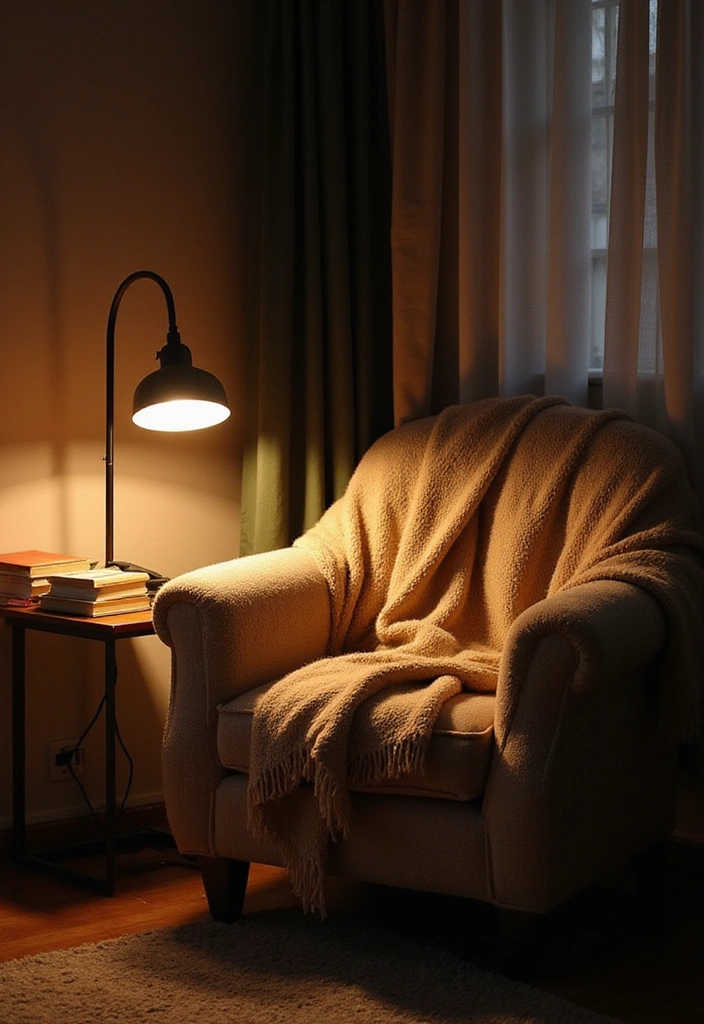
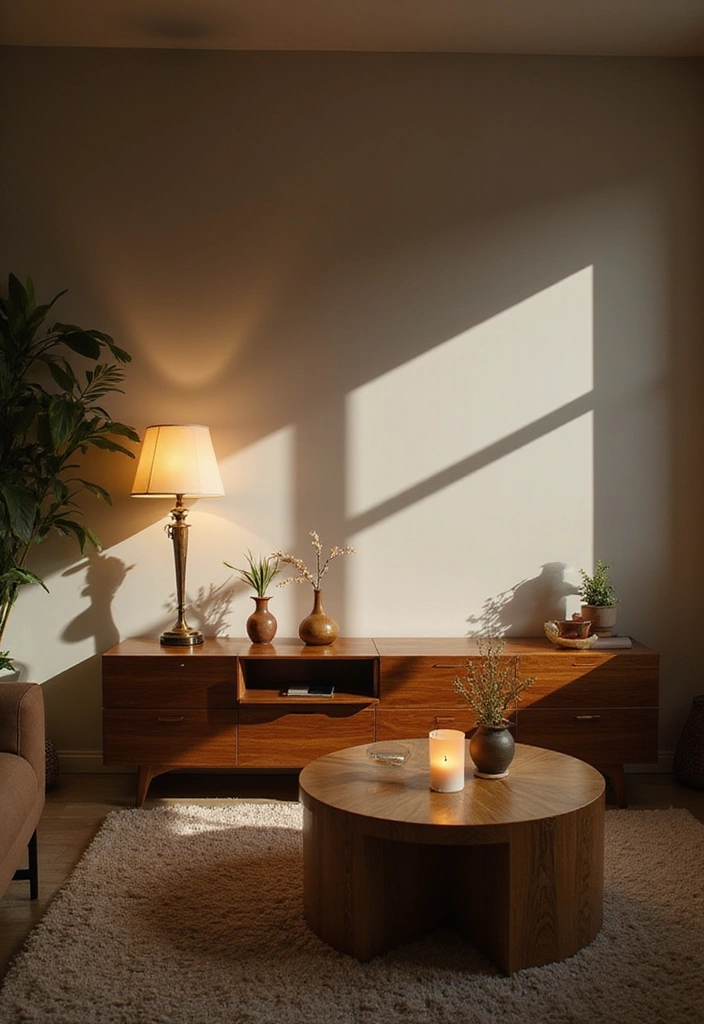
Soft lighting plays a crucial role in establishing a cozy and inviting atmosphere in your home decor photography. To achieve this effect, consider utilizing diffused light sources such as warm LED bulbs in your lamps, which will enhance the warmth of your space.
Positioning your light sources low can help create gentle shadows, adding to the welcoming vibe, making it perfect for capturing intimate settings like a reading nook or a beautifully set dinner table.
Additionally, incorporating decorative lamps and battery-operated fairy lights can infuse your space with extra warmth and charm.
Don’t hesitate to experiment with different placements and combinations of these lighting elements to discover the most flattering options for your decor. Soft light can truly transform your home into a serene retreat, ensuring your photos radiate warmth and invite viewers in.
5. Colored Gels for Dramatic Effects
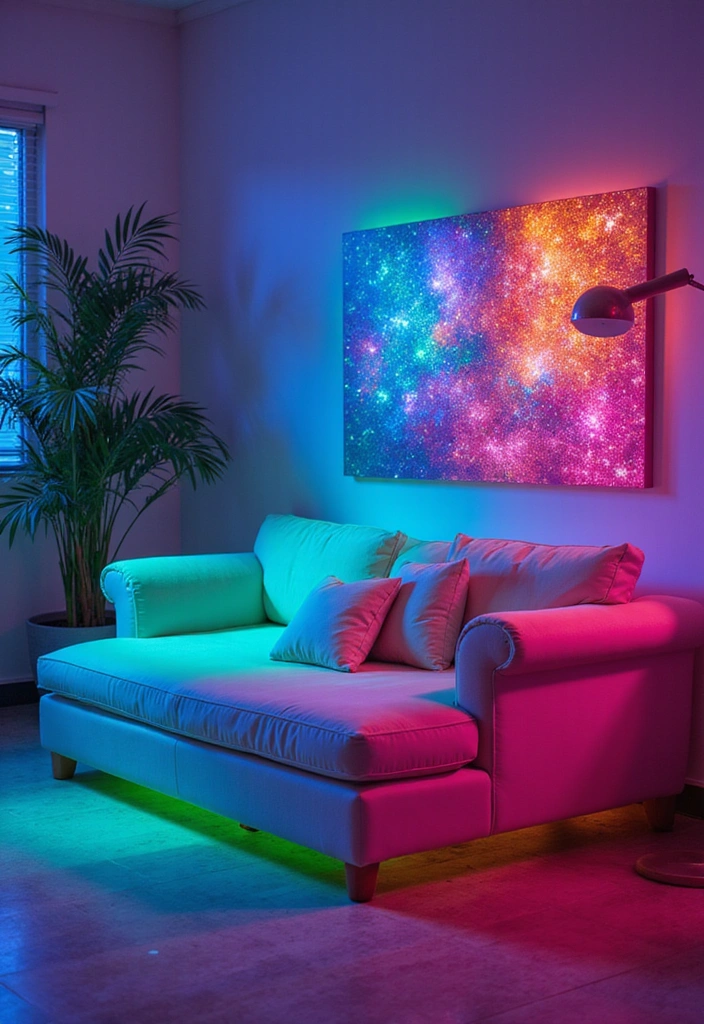
Colored gels can add a striking touch to your home decor photography by infusing your images with vibrant colors. These filters, which can be easily placed over your light sources, create stunning color casts that make your decor stand out in distinctive ways. Whether you opt for a soothing blue or a lively red, colored gels can completely transform the atmosphere of your photos.
To get started, consider investing in colored gel sheets that offer a variety of hues to choose from. It’s a great idea to select colors that complement your decor for a cohesive appearance. Additionally, you can experiment with layering different gels to achieve a more intricate effect or use them to highlight specific areas of your decor while keeping the background softly lit.
For optimal results, using adjustable LED lights allows for precise control over your lighting, enhancing the impact of your gels. Don’t hesitate to incorporate contrasting colors to make a bold statement that captures attention. Lastly, consider utilizing photography stands for gel placement, which will help you position your gels accurately and ensure that your home decor photography reaches new artistic heights.
6. Backlighting for a Silhouette Effect
Backlighting is a powerful technique that can create stunning silhouette effects, emphasizing the shapes and forms of your decor. By positioning your light source behind your subject, you can achieve dramatic images that beautifully highlight unique decor items or architectural details. This method infuses your shots with a sense of mystery and allure, drawing viewers in to appreciate the artistry of your space.
To effectively master backlighting, consider using light diffusing panels to soften the light streaming through windows, creating gentle silhouettes. Experimenting with different angles will help you discover the most flattering shapes and outlines. For added depth and interest, include textures or patterns in the foreground, enhancing the overall composition of your shot.
Taking advantage of the golden hour, when the light is warm and soft, can yield the best results for backlighting. Additionally, using adjustable LED lights can offer you the flexibility to create the perfect lighting setup in any environment. Lastly, don’t forget to use a tripod for stability, ensuring that your images remain sharp and well-composed. Embracing backlighting can truly elevate your home decor photography, transforming ordinary objects into captivating works of art.
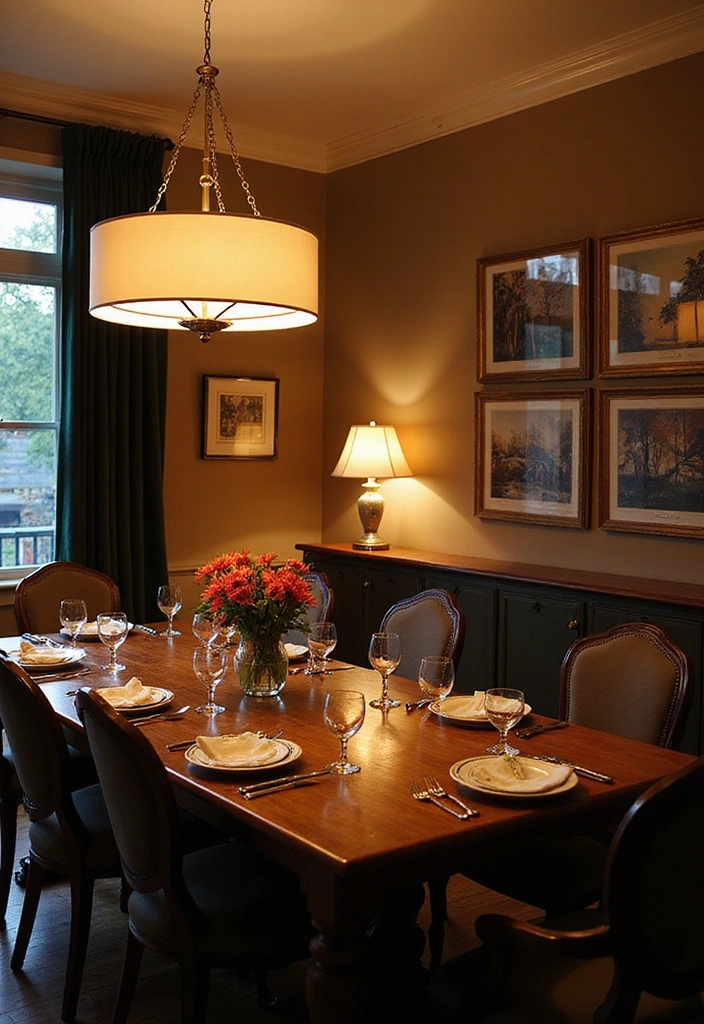
7. Creating Mood with Artificial Lighting
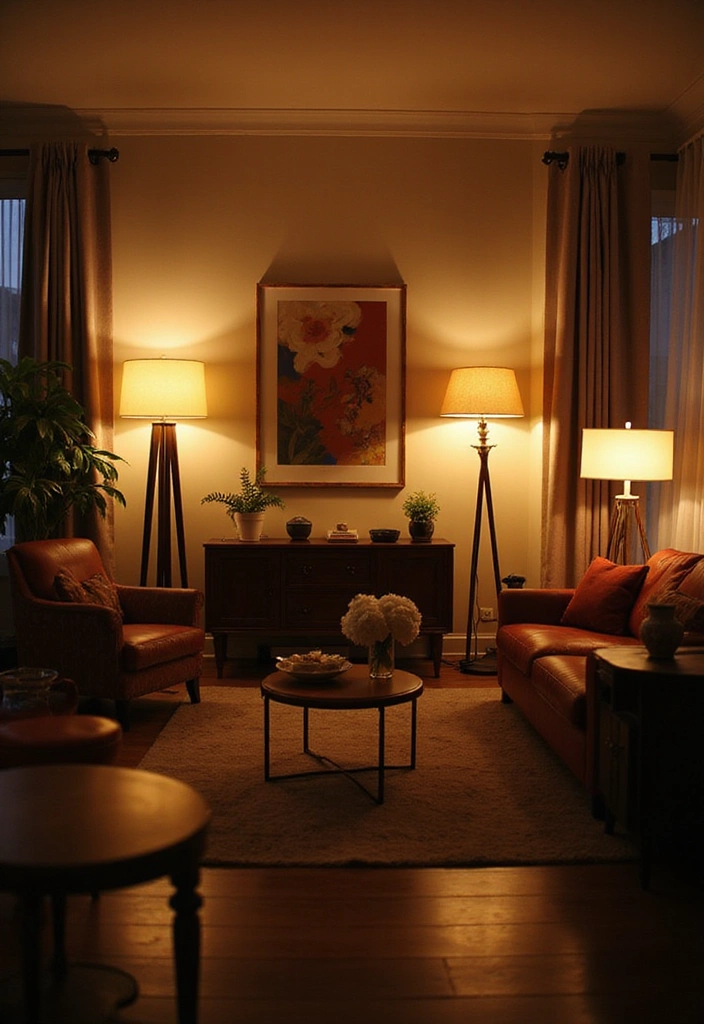
Artificial lighting plays a crucial role in setting the mood for your home decor photography. By strategically using a mix of lamps, overhead lights, and candles, you can craft various atmospheres that beautifully showcase your decor. Whether you’re aiming for a bright and invigorating space or a soft and romantic ambiance, the right lighting is essential.
To elevate your photography, consider incorporating dimming LED bulbs that allow you to adjust the intensity of your lights, ensuring optimal mood control. Pair these with stylish table lamps that add character and warmth to your settings. Additionally, don’t overlook the charm of decorative string lights, which can infuse a whimsical touch to your decor while providing soft illumination.
By mastering the art of artificial lighting and experimenting with the placement of these elements, you can create stunning home decor shots that not only shine but also tell a captivating story.
8. Light and Dark Contrast
Using the interplay of light and dark can significantly enhance the drama and depth in your decor photography. By strategically positioning light sources alongside shadowed areas, you can create a striking visual impact that draws the viewer’s eye to your decor elements. This technique not only highlights textures, colors, and shapes in a compelling manner but also allows for creative expression.
To effectively play with light and dark contrast, consider investing in lighting control kits that help you manipulate shadows and highlights. You can also explore high-contrast backdrop materials to further emphasize the features of your decor. Additionally, experimenting with black and white photography can showcase contrast more dramatically, allowing the interplay of light and dark to take center stage.
Finally, keep in mind the color palette of your decor as it plays a crucial role in enhancing the contrast effect. For those looking to dive deeper into this technique, consider picking up photography books on contrast techniques that provide valuable insights and inspiration. Utilizing light and dark contrast can lead to powerful and evocative home decor photographs that truly shine.
9. Layered Lighting for Depth
Layered lighting is a powerful technique that employs multiple light sources to craft a rich and dynamic atmosphere in your home decor photography. By blending ceiling light fixtures for ambient illumination, decorative table lamps for focused task lighting, and accent spotlights to showcase specific decor pieces, you can add depth and intrigue to your shots.
This approach not only highlights particular areas but also ensures the entire space remains inviting and well-lit.
To make the most of layered lighting, try experimenting with varying light levels to create visual interest, and consider installing dimmers to adjust the brightness of each layer. Additionally, pay attention to the color temperature of your bulbs to maintain a cohesive and harmonious look throughout your space.
By mastering layered lighting, you can elevate your decor photography, infusing each image with warmth and allure.
10. Utilizing Color Temperature
Understanding color temperature is essential for setting the right mood in your home decor photography. Different light sources emit varying color temperatures, which significantly influence how colors are represented in your images. For instance, warm lights can create a cozy, inviting atmosphere, while cooler lights lend a modern and fresh vibe to your shots.
To effectively utilize color temperature in your photography, consider investing in a color temperature meter to gauge the exact temperature of your light sources. This will help you maintain consistency across your images. Additionally, using adjustable LED lights allows you to experiment with both warm and cool lighting, enabling you to see firsthand how they affect your decor.
Don’t forget about your camera’s white balance settings; these can be adjusted to account for different light sources, ensuring your colors appear true to life. For more controlled adjustments, consider using photography white balance cards to fine-tune your shots.
By mastering the nuances of color temperature, you can elevate your home decor photography to new heights, creating stunning and harmonious images that truly shine.
11. Candlelight for a Romantic Touch
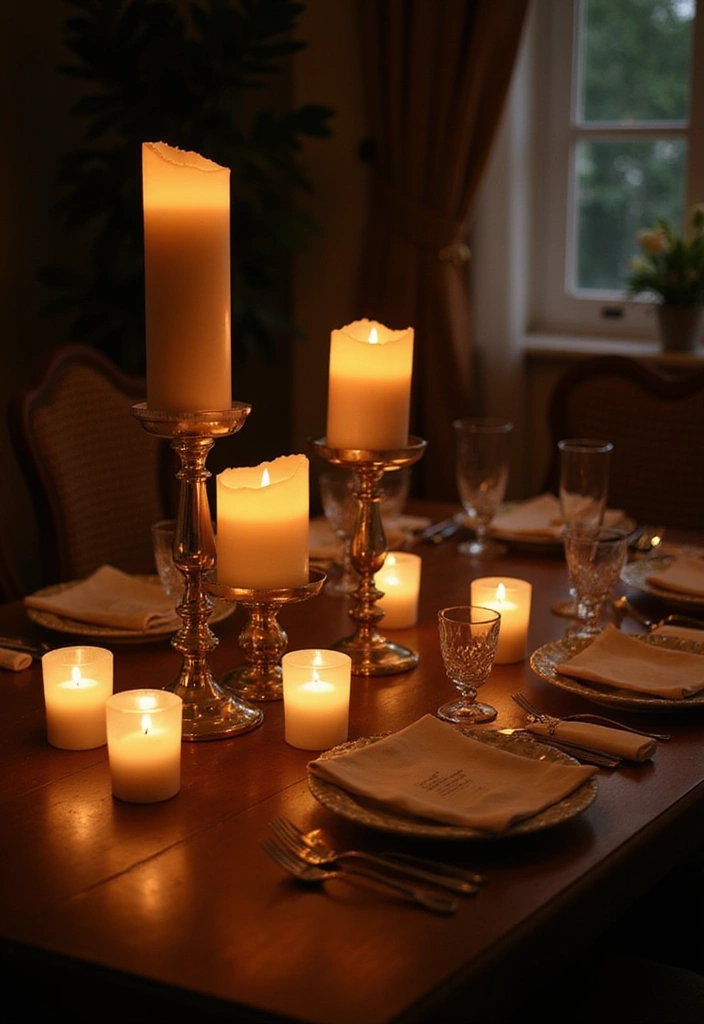
Candlelight brings a stunning, romantic ambiance to home decor photography, transforming any space into a cozy retreat. The gentle flicker of flames creates a soft, warm glow that enhances the atmosphere, making your images feel inviting and intimate.
To elevate your decor, consider using decorative candle holders that add visual interest while showcasing the candles beautifully. Mixing different sizes and shapes of candles helps to create an engaging focal point, while positioning them at varying heights can add layers of light and depth to your shots.
Photographing during dusk captures the enchanting magic of candlelight, and using battery-operated candles allows for flexibility in placement without the worry of wax drips or safety concerns. Additionally, experimenting with long exposure settings can beautifully capture the warmth and movement of the flame, creating mesmerizing images.
For an added sensory experience, incorporate scented candles into your decor; not only do they enhance the visual appeal, but they also fill the space with delightful aromas, making your home decor photography truly inviting.
12. Using Mirrors to Reflect Light
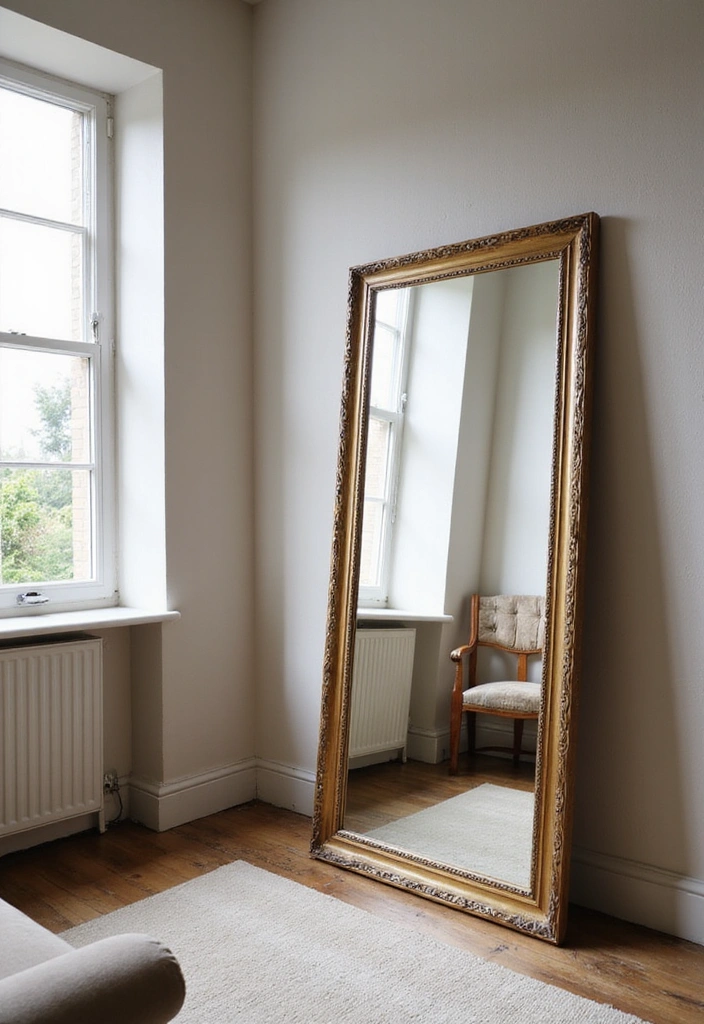
Mirrors serve as a powerful tool for photographers aiming to enhance lighting in their decor shots.
By strategically placing decorative mirrors in your space, you can effectively reflect natural light, resulting in brighter and more inviting images. This approach not only elevates the atmosphere of your photographs but also creates an illusion of a larger space.
To maximize the impact of mirrors in your photography, consider positioning them opposite windows to capture and amplify natural light. Additionally, incorporating adhesive mirror tiles can allow for playful reflections of specific decor elements, adding depth and interest to your visuals.
Don’t hesitate to experiment with different angles to achieve unique reflections, but always be cautious about what the mirror captures; it should enhance the composition rather than distract from it. With the clever use of mirrors, your decor photography can transform into captivating visuals that beautifully play with light and space.
13. Using Softboxes for Controlled Lighting
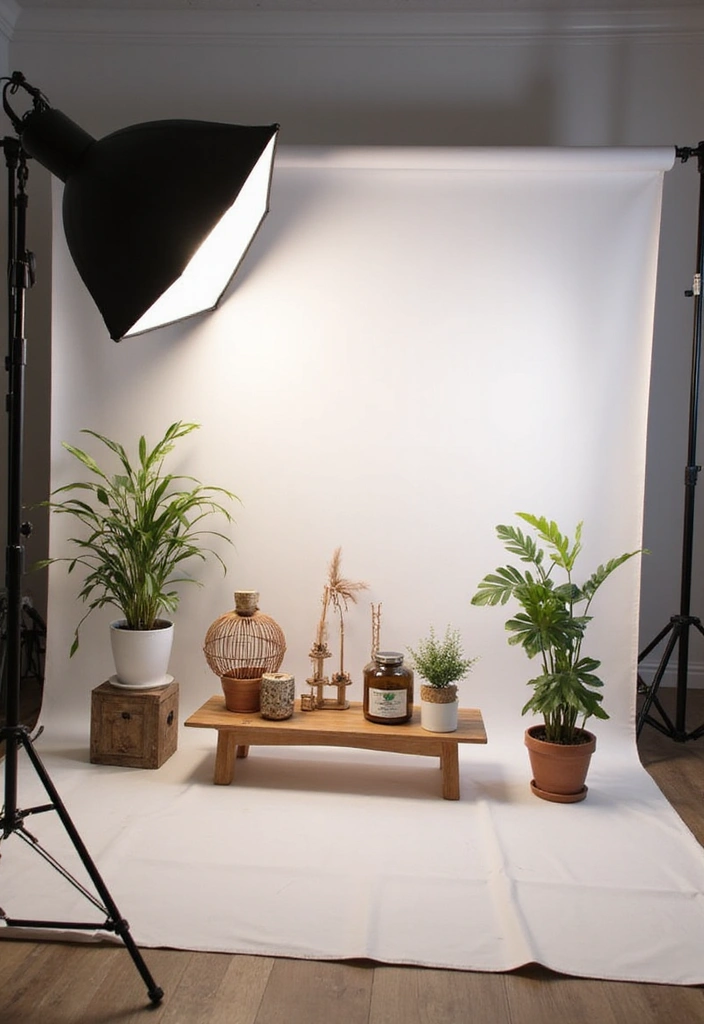
Softboxes are indispensable tools for photographers who wish to master the art of controlling and diffusing light in their home decor photography.
These versatile devices produce soft, even illumination that minimizes harsh shadows and highlights, making them ideal for showcasing your decor. With various sizes available, you can easily adjust softboxes to meet your specific needs, ensuring you achieve stunning and professional-quality images.
To make the most of softboxes, consider positioning them at different angles to add depth and dimension to your shots. Additionally, experimenting with the distance between the softbox and your subject can help you control the light’s intensity, allowing for a more tailored look. For even more dynamic lighting, try using multiple softboxes to create layered effects that enhance your images.
Don’t forget to pay attention to your background; it should complement the decor you are highlighting. For a great start, consider investing in a softbox lighting kit to ensure you have the right equipment, and pair it with adjustable tripod stands that will provide stability and flexibility during your shoots. Incorporating these tools will significantly elevate your home decor photography, resulting in polished and eye-catching images.
14. Highlighting Textures with Side Lighting
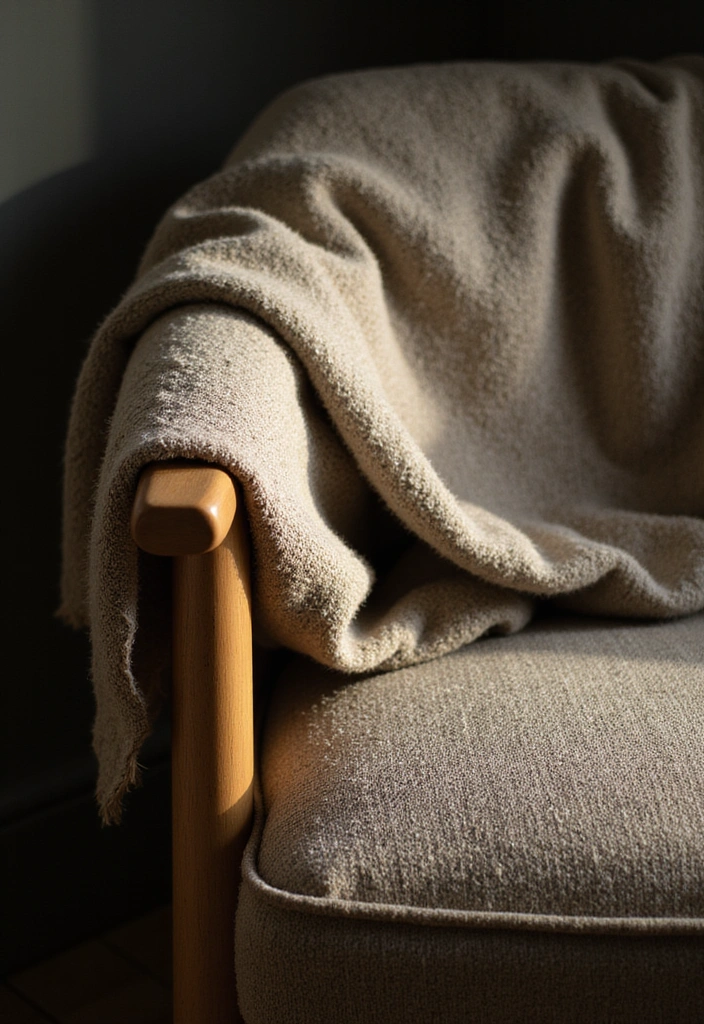
Side lighting is an excellent technique for bringing out the textures in your home decor photography. By placing your light source to the side of your subject, you can create dynamic shadows that enhance the intricate details of materials such as fabric, wood, or metal. This method not only adds depth but also infuses character into your images, making them visually captivating.
To achieve the best results with side lighting, consider investing in quality side lighting lamps that can provide the perfect illumination. Experimenting with various angles can help you discover the most flattering light for your textures. Utilizing natural light from windows or strategically positioned side lamps can result in soft, appealing shadows that enrich your photography.
Additionally, incorporating reflectors for photography can be beneficial, as they allow you to bounce light back into shadowed areas, enhancing the overall texture visibility. Don’t overlook the surface you’re shooting on; it can significantly affect how textures appear in your images. You might also want to consider using textured backdrops to complement your subjects, further elevating the richness of your decor photography. Mastering side lighting will undoubtedly transform even the simplest items into stunning works of art.
15. Balancing Light with Fill Light
Fill light plays a crucial role in achieving balanced exposure in your home decor photography, especially in scenarios with high contrast. This technique involves introducing additional light sources that help illuminate shadows, resulting in a more uniform exposure throughout your images.
Fill light is exceptionally beneficial when capturing scenes in brightly lit environments that create harsh shadows. To utilize fill light effectively, consider using photography reflectors to bounce natural light back onto your subjects, which softens the shadows and enhances the overall look.
Additionally, positioning your fill lights at a lower intensity can prevent them from overpowering your main light source. Experimenting with various angles will also help you discover the most flattering fill light effects. For a more consistent fill, you might want to use a white or silver reflector.
For those seeking more control over their lighting setup, adjustable LED lights can offer versatile options to enhance your home decor photography. By skillfully balancing light with fill light, your images will achieve a polished, cohesive, and professional appearance.
16. Using High Dynamic Range (HDR) Techniques
High Dynamic Range (HDR) photography is an advanced technique that allows you to capture a broader spectrum of light and color compared to standard photography. By taking multiple images at varying exposures and merging them, you can create breathtaking photos that highlight intricate details in both the shadows and the highlights. This approach is especially beneficial in home decor photography, where lighting conditions can change dramatically.
To effectively implement HDR in your decor shots, start by using a reliable tripod to ensure your camera remains steady while you take multiple exposures. Aim to capture at least three images: one underexposed, one correctly exposed, and one overexposed. After capturing these shots, utilize HDR editing software to seamlessly blend the images together.
Additionally, consider using a camera with HDR capabilities to streamline the process and enhance your photography results. By experimenting with HDR settings, you can achieve the perfect look that brings your home decor to life in stunning clarity.
17. Using Light Meters for Precision
Light meters are essential tools for photographers aiming for precise exposure in their home decor photography. These devices accurately measure the light in a scene, allowing you to adjust your camera settings to achieve perfectly exposed images every time.
To use light meters effectively, start by measuring the light in various areas of your room to identify the best exposure settings. You can also utilize the meter to balance multiple light sources, ensuring harmony in your shots. Taking readings at different times of the day will help you understand how natural light shifts, giving you greater control over your photography.
Incorporating a reliable light meter into your toolkit can significantly elevate your decor photography. Additionally, consider using photography exposure guides to further refine your skills. Finally, ensure your camera settings are adjustable with resources like adjustable camera settings, which will allow you to make precise changes based on the readings from your light meter. With these tools at your disposal, perfect exposure is within your reach!
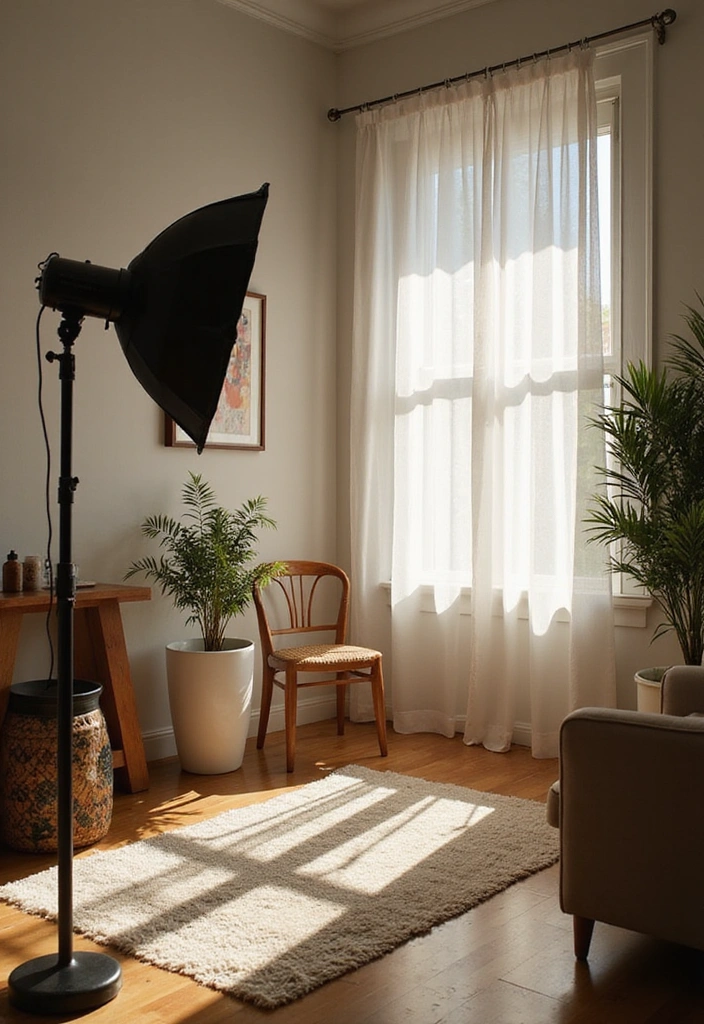
18. Light Placement for Dramatic Impact
The arrangement of your light sources can significantly transform your home decor photography, allowing you to create images that are both captivating and artistic.
By experimenting with various placements, you can achieve unique effects that enhance the mood and aesthetics of your shots. For instance, using adjustable lighting stands enables you to position lights at different heights, which adds dynamic shadows and highlights to your decor.
Don’t hesitate to explore different angles to see how they influence your decor’s appearance. Incorporating photography light placement guides can provide you with invaluable insights on how to manipulate light for the best effect.
Moreover, utilizing multiple light sources can lead to layered and complex lighting effects that bring depth to your images. Finally, pay close attention to the overall composition and observe how light interacts with your decor elements. By mastering the art of light placement, you can capture stunning decor photographs that truly inspire and captivate your audience. Consider adding decorative LED lights to enhance the ambiance further and elevate your photography to new heights.
19. The Power of Lighting in Post-Processing
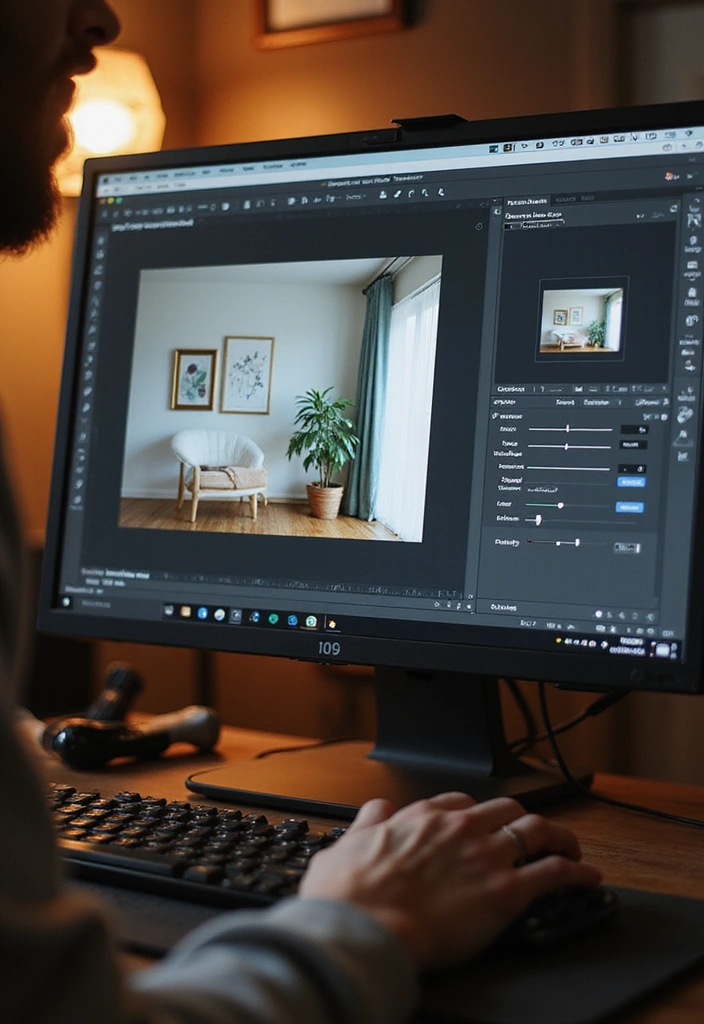
Post-processing is where the true magic of lighting comes to life in your home decor photography.
Even the best-lit images can be significantly enhanced with the right adjustments during editing. By using photo editing software, you can enhance brightness, contrast, and saturation to elevate your decor images.
Here are some valuable tips for maximizing your lighting through post-processing:
– Adjust brightness and contrast to draw attention to the key areas of your decor.
– Utilize color correction filters to ensure that your colors are both accurate and visually appealing.
– Experiment with different filters and presets to set a specific mood that resonates with your style.
– Remember not to over-edit; strive for a natural look that beautifully showcases your decor.
By effectively harnessing the power of post-processing, you can refine your lighting and create stunning home decor photographs that truly shine. For those looking to enhance their skills further, consider enrolling in online photography courses to take your photography to the next level!
Conclusion

Lighting is an essential factor in home decor photography that can make or break your images.
By experimenting with different lighting techniques, you can find the perfect way to showcase your decor, turning ordinary photographs into extraordinary visual stories.
Whether you prefer the natural warmth of sunlight or the controlled ambiance of artificial lighting, remember that the right light can truly make your home shine.
Note: We aim to provide accurate product links, but some may occasionally expire or become unavailable. If this happens, please search directly on Amazon for the product or a suitable alternative.
This post contains Amazon affiliate links, meaning I may earn a small commission if you purchase through my links, at no extra cost to you.

